
I’ll be honest I don’t use this toothpaste every day. The switch to zero waste toothpaste is a hard one for me, but I do love this toothpaste. I use this toothpaste mostly as a whitening tool and not as my daily toothpaste, but I know lots of zero-wasters who use a similar toothpaste daily. This easy to make toothpaste tastes great. It will go solid at room temperature (if you live somewhere cold like me) but you just need to rub the bristles in it, and it works just fine. When its warm out (and liquid) you need to dip your brush in. I recommend everyone having their own container since your brush has to touch it. I also think making small batches works best.
Why does it work?
Baking Soda:
I find that the baking soda (or bicarbonate soda) makes this toothpaste whitening (I’m not a dentist, so this is just my own experience). Baking soda is abrasive, so it is great for removing surface stains but you need to be careful it doesn’t damage your teeth. I find that mixing it with the coconut oil helps make it less abrasive.
Coconut Oil:
I’m sure you’ve all heard of oil pulling (swishing oil in your mouth to clean it) by now. Oil pulling was my inspiration for adding coconut oil to this toothpaste. I find I can get the benefits of oil pulling while brushing with this toothpaste. Coconut oil allegedly can reduce tooth cavities and eradicate bad breath. Whether that’s true or not I don’t know, but I love it in this toothpaste.
Peppermint Oil:
Lastly, I’ve added peppermint oil primarily for flavour, but that isn’t all it does. Peppermint oil has antimicrobial properties and is great for freshening breath. I used peppermint essential oil (which should not be swallowed), but you can use peppermint extract (for cooking) if you don’t want to worry about swallowing it.
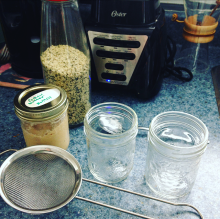
Recipe:
1 to 1 1/2 tbs of Baking Soda
1 1/2 to 2 tbs of Coconut Oil
1-5 drops of Peppermint Oil
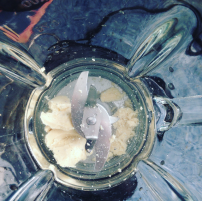
Fist melt the coconut oil and then add the baking soda. The key is to create a paste so add more coconut oil or baking soda as needed. The amount of peppermint oil used is up to you.
Tips:
Many other oils can be used for flavouring. Oregano oil and clove oil are often used for tooth aches and are antibacterial. Spearmint and wintergreen are also great flavours to add in.
Let me know if you try this and it works for you